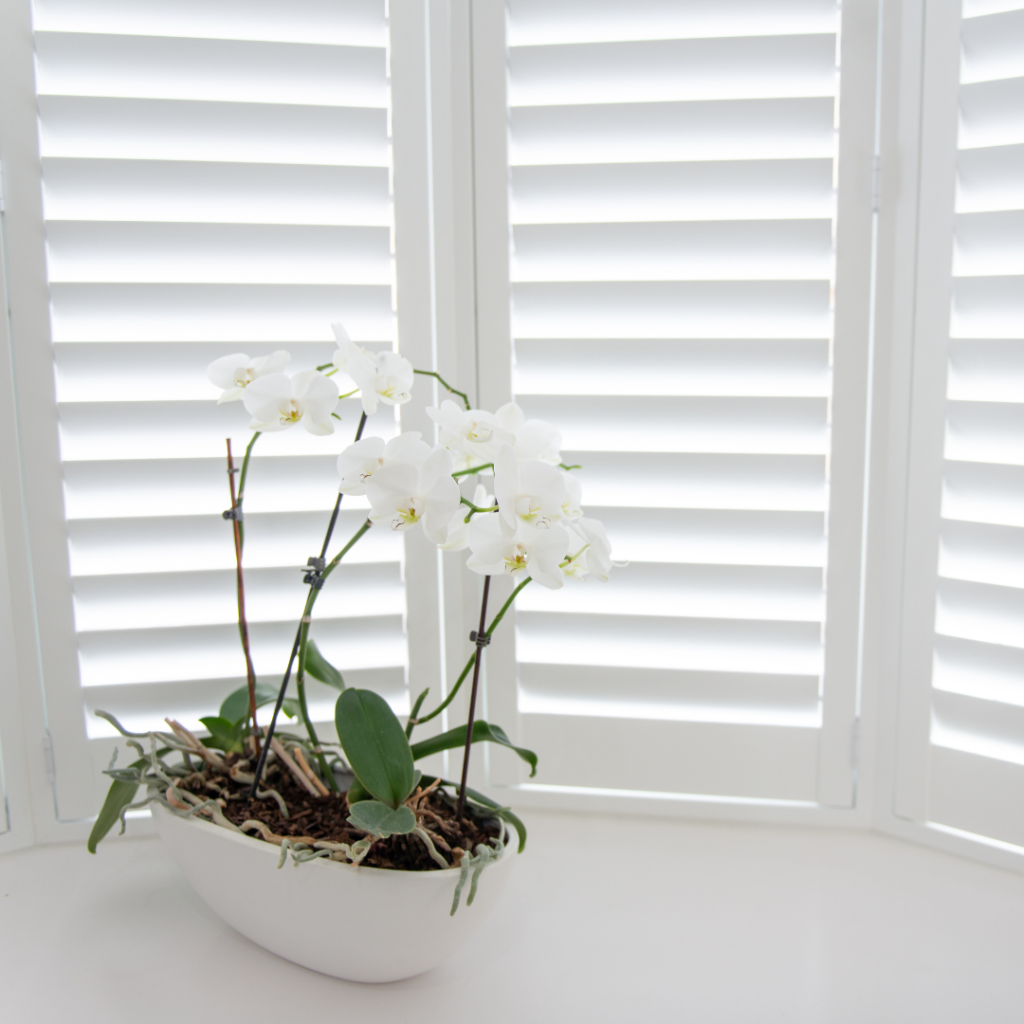
Plantation shutters are a stylish addition to any room of your home. They work in the kitchen, bathroom, living room, study, or bedroom with ease. They also provide an energy efficient cover on your windows, and allow in exactly as much daylight in as you choose. The way to keep these window coverings looking great for years to come is to keep them clean. Follow this step-by-step guide on how to clean plantation shutters for success.
Start with cleaning the debris on plantation shutters
The first step in getting sparkling clean plantation shutters is to carefully remove the debris that’s settled into all the nooks and crannies on the window coverings. One of the easiest ways to do this is by using a very soft vacuum brush-type attachment. This method will safely and easily remove more debris than if you tried wiping it away.
Next comes the dry cloth
Once you’ve removed as much debris as possible with your vacuum attachment, use a dry cloth to gently dust the surfaces of the shutters. A thin rag will allow you to squeeze into all the hard-to-reach parts for hiding dust. Once you’ve completed this step, you’re halfway finished with the process.
Using water on plantation shutters
Following the vacuum tool and your dry cloth, make a very mild detergent with wood-safe soap and warm water. The warm water and soap will help you remove any stick-on issues that have settled in over time. Dampen the cloth and wring all excess water from it before using it to wipe down the surfaces of your shutters.
Don’t forget to let them dry
Wood’s mortal enemy is sitting water and this definitely isn’t a relationship you want to introduce for your shutters. Once you’ve finished wiping them down with your warm cloth, move them to an open position and allow them to stay that way for several hours. If it’s a nice day outside, you might even consider opening the windows behind them so that any breeze blowing will help to dry your shutters more quickly.


